Guide To Owning A Pinball Machine Congratulations! Welcome to the eclectic group of individuals known has pinball hobbyists. This article provides a short overview of basic pinball information to help you get started. The goal is to provide factual information in a brief form, saving you time by pulling together information from many sources. This should be enough details to get started and provides the background needed to research topics in more depth if desired. Source
You’ll find no shortage of opinions in the pinball world. For every machine that someone loves it seems there is someone else who can’t stand it. You really have to make your own decisions, investigate the options and do what’s right for you. Again, the intent in this article is to provide the easiest options to get started. Take shipping for example. There are cheaper alternatives that involve crating/palletting a machine and freight shipping, but for the beginner, NAVL takes care of the details for you.
Cost of owning a pinball machine?
Owning a pinball machine does not have to be expensive. Depending on they type of machine and how much work you are willing to do yourself you can own a machine for as little as $200 – $500 for an older machine. A more typical price range is from $500 – $2000 for a reliable used machine. A new machine with a warranty will run about $4500-$6000.
Machines tend to hold their value well. That said, putting $200 of repairs into a $200 machine does not typically result in a $400 machine. There are premium restorations of many machines that consistently sell for $8000 or more. Many people list their machines as “rare”, but there are very few truly rare pinball machines. Many machines had production runs less than 300. The highest production run game, “The Addams Family” continues to hold its value. Other high-value games are “Medieval Madness”, “Big Bang Bar”, and “Cactus Canyon.”
It’s generally assumed that you’ll do your own basic maintenance. It’s unlikely that you’ll find local repair people. At a minimum you’ll want to be able to replace lamps and rubber rings. Help is available to guide you in repairs. For SS machines the boards can be sent in to be repaired.
What type of machine do you want?
There are three generations of pinball machines.
- Electro-Mechanical (EM) machines – Relay-based machines controlled by a score motor and stepper units. Includes machines up to about 1978.
- Solid State (SS) – Electronic (microprocessor) controlled machines. Covers machines from the late 1970s to about 1990.
- Dot Matrix Display (DMD) – Solid State machines with a display that is used for both scoring and low-resolution video. Covers machines since about 1990.
Coils, lamps, and switches are common to all games. Newer SS machines use microswitches instead of leaf switches.
EM play tends to be simpler with easily explained goals of hitting sequences of targets. SS machines added reliability by replacing the relay logic with electronics and gradually expanded on the machine goals. Complexity was increased over time with the addition of ramps, subways, and other theme-specific elements to the point where newer DMD machines are sometimes referred to as Pinball “games” due to the complicated game play sequences and playing modes.
In the home, simpler games have the advantage of attracting new players. Visitors are often intimidated by the complexity of newer machines. On the other hand, the more complex machines can have the advantage of providing more varied play that can hold your interest longer.
Considerations for Having a Pinball Machine in your House
You’ve probably already thought about this, but a few points are worth emphasizing.
Size – Pinball machines seem larger in a home setting than they appear on location. They are about 32″ wide x 52″ deep x 70″ tall. They take some work to navigate through a 32″ interior door. EMs are easier since the head comes off the cabinet to transport.
Weight – Pinball machines weigh 200-300 pounds.
Noise – Pinball machines are quite loud since they’re designed to be used in a noisy bar or arcade environment. SS machines have an advantage here in that the volume can be turned down.
Buying a Game
The best option is buying a machine locally, but in many areas that isn’t an option and may significantly limit your options. Ebay was a good source of games for many years, but Ebay policy and fee changes have limited the number of machines available and the available games tend to have premium pricing. Online classifieds dedicated to pinball (www.mrpinball.com and www.pynball.com) are good options as is placing a WTB (wanted to buy) post on the rec.games.pinball (RGP) newsgroup. There are also FS (for sale) postings quite regularly on RGP, but you have to follow the newsgroup to be aware of those. Usually there are games for sale at the pinball shows.
Most all parts are available to repair a machine and many repairs are fairly simple, so I emphasize cosmetics over function when buying a game. This is especially true on EM games. For SS and DMD games, a single coil not working may only need a transistor replaced, but if you are not willing to do that yourself it could easily cost $100 to send to board out for repair.
Inspecting a Pinball Machine
There are only a few parts on a pinball machine that are difficult to replace and in some cases impossible. The backglass is the main one. Some reproductions are available, but if you aren’t willing to live with what’s there you’ll need to make sure you can find a replacement. Replacement backglasses run about $300.
Assuming this is your first pinball machine, the playfield inserts should be considered irreplaceable. The original inserts are installed in the playfield before it’s sanded down and screen printed. Replacement inserts are not available, but some cupping of the inserts can be repaired.
The playfield light shields are usually irreplaceable. If they are available they will come as a full set and will cost about $150. You can make a fairly good replacement out of lexan, so there are some options on the plastics.
Any custom playfield objects should be considered irreplaceable. For some of the more popular games reproduction parts may be available. Items like pop bumper caps usually have replacements available and at a minimum you can find a different design that would work.
In general, any SS electronics can be repaired or replaced. An exception is the SPIDER chips on Gottlieb Series 1. Replacement board sets are available but that cost should be considered in your decision.
Finding your way around
The On/Off switch is on the bottom of the cabinet 6-8″ behind the right front leg.
There are two keys, one for the coin door and one for the backbox. In some cases the locks will use the same key.
The cabinet is accessed by opening the coin door and sliding the lever located at the top right to the left. The lock-down bar will then lift off. Slide the glass out of the machine and set it down gently. The playfield can now be lifted by grabbing the apron. Lift far enough so any hardware under the playfield clears the cabinet and slide the playfield toward you. For older games there is a prop rod down in the cabinet on the right that can prop the playfield up, but it’s usually best to slide it out far enough to lean back against the backbox. The playfield on newer games is on a pivot and it can be flipped up against the backbox.
Access into the head has several possibilities. On EMs, access is through a removable door on the back of the machine. On newer machines the key will be on the side, top, or front. Typically the backglass or translite can be removed from the front and the light insert swings open to get access. There are 2 or 4 bolts that secure the head to the cabinet. Starting with the later SS machines the head is hinged and folds down onto the cabinet. For earlier machines the wire harness must be unplugged and the head removed.
Playfield switches and coils are common to all machines. EMs will have control logic under the playfield, on the mechanical panel in the bottom of the cabinet, and in the head. SS & DMD machines will have most of the control logic in the head.
Moving a Pinball Machine
The steps in moving a Pinball machine are:
- Remove the ball(s)
- Remove or fold down and secure the head
– For removal, there will be several cables that need to be unplugged
– If the head folds down, place padding on the cabinet before folding it down. You’ll need a strap to secure it.
- Remove the back legs, set the back end down, and lift/rotate the cabinet onto the back
- Remove the front legs
Tools:
– 5/8″ wrench for leg bolts
– 9/16″ wrench for head bolts (newer Sterns use 8mm allen wrench)
– Strap to secure the backbox
Setting up a Pinball Machine
Initial assembly and setup is simply the reverse of the above. Once the machine is set up it needs to be leveled. Remove the playfield glass and use a small level on the playfield surface to level the machine side-to-side. Playfield slope is typically about 3.5 degrees for EMs and 6.5 degrees for SS & DMD machines. Start with all leg levelers adjusted most of the way in and the slope should be pretty close. The slope can be adjusted to preference. It’s not unusual for a machine to need minor repair after moving to a new location. Repair & Maintenance
Clean the playfield with Novus #2 cleaner or carnauba wax; don’t use water on the playfield. Novus #1 and #2 are good choices for cleaning plastics. Isopropyl alcohol is a good, safe option for cleaning most other parts. Always test in an inconspicuous area and start slowly. It’s hard to predict how older machines will tolerate cleaners. Be especially careful on painted metal parts like the playfield apron on EMs, paint comes off of those very easily.
Leaf switches used on older machines may occasionally need cleaning and adjustment. Tighten the screws holding the switch stack in place before adjusting. Adjust by bending the fixed blade near the fixed end (nearest to the screws). When the switch is properly adjusted the gap should be about 1/8″ and, when operated, the moving blade should slightly deflect the fixed blade. Work slowly with many small adjustments.
For cleaning the contacts you’ll need the following tools:
EM:
– Contact Adjuster
– Flexstone file (fine sandpaper will work but is harder)
– The heavy tungsten contacts used on flipper end-of-stroke switches will need a metal file
SS:
– If switch contacts are gold plated (typical on SS machines), don’t file the contacts. Clean with a business card.
There are very few parts on a pinball machine that need lubrication. If something isn’t working smoothly it need to be taken apart and cleaned. Over-lubrication causes many more problems than under-lubrication.
Thanks for reading the article on owning a pinball machine!
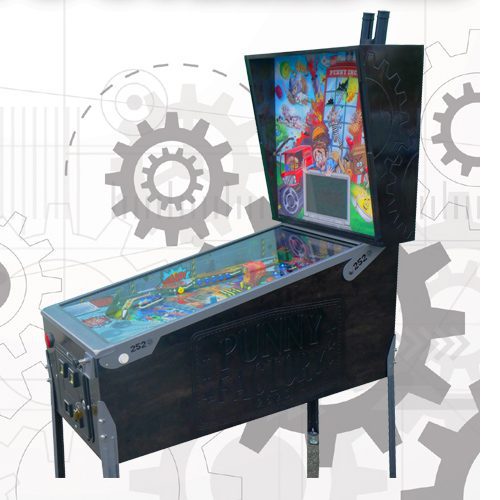
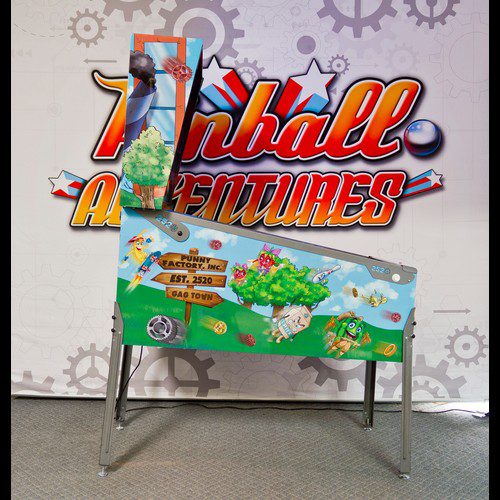
PINBALL ADVENTURES
Pinball Adventures is a North American manufacturing company producing fresh and unique Pinball machines. Our goal is to create to the highest standards, and spark the same joy we found as gamers when we rolled our first quarter into that coin slot so many years ago. Stemming from a lifelong passion, Pinball Adventures is created by gamers, for gamers. We strive to bring high quality, innovative, and captivating experiences for all to enjoy.
Visit our website at pinballadventures.com and also check out our new Instagram page for more updates https://www.instagram.com/pinballadventures/
Pinball, Pinball Adventures, Pinball Buzz, Pinball, Pinside, History of Pinball, Pinball News, Pinball Updates, Origin of Pinball, Pinball Skill Shots, Pinball Canada, Vancouver Pinball, pinball relates to real life, collect pinball, shooter rods, Parts of a pinball machine, Move a pinball machine, most expensive pinball machine, guide to playing pinball, Largest Pinball Collection, hardest pinball game, 5 Classic Pinball Machines, Owning a pinball machine