Pinball Playfield Repair And Restoration
When reading through this information there is a few ways you can navigate. You will see our links to the Figures within the content. When it opens the window, you can click the next or previous arrows to move back and forth between the Figures. When you have viewed the Figures you want to see, you can click on the X in the corner to go back to the text. If you prefer, you can click on one of the Figure links and keep clicking next all the way through to the last Figure referenced on this page.
When repairing / restoring a playfield there are 2 sides that need to be addressed. The top side, or rather, the play area you see as a player and the underside that you don’t see; but contains all the mechanics that keeps the top side functioning correctly.
It’s paramount that both topside, and underside are rebuilt, restored, and cleaned at the same time, or unbalanced operation will result. Also, if you clean the topside, and not the underside, you’re wasting your time. During game play all the carbon dust, and grime still on the underside mechanics, will quickly transfer up to the topside, through vibration, and ball movement. Many pinballs from 1988 on have under-playfield ramps, most are made from clear plastic, just like the upper ramps.
The Playfield – Topside
For repair and restoration of the topside to be done thoroughly, and correctly all components on the topside must be removed. Likewise, any components jutting up into the playfield from below must be dropped. Finally, the playfield rails should also be removed
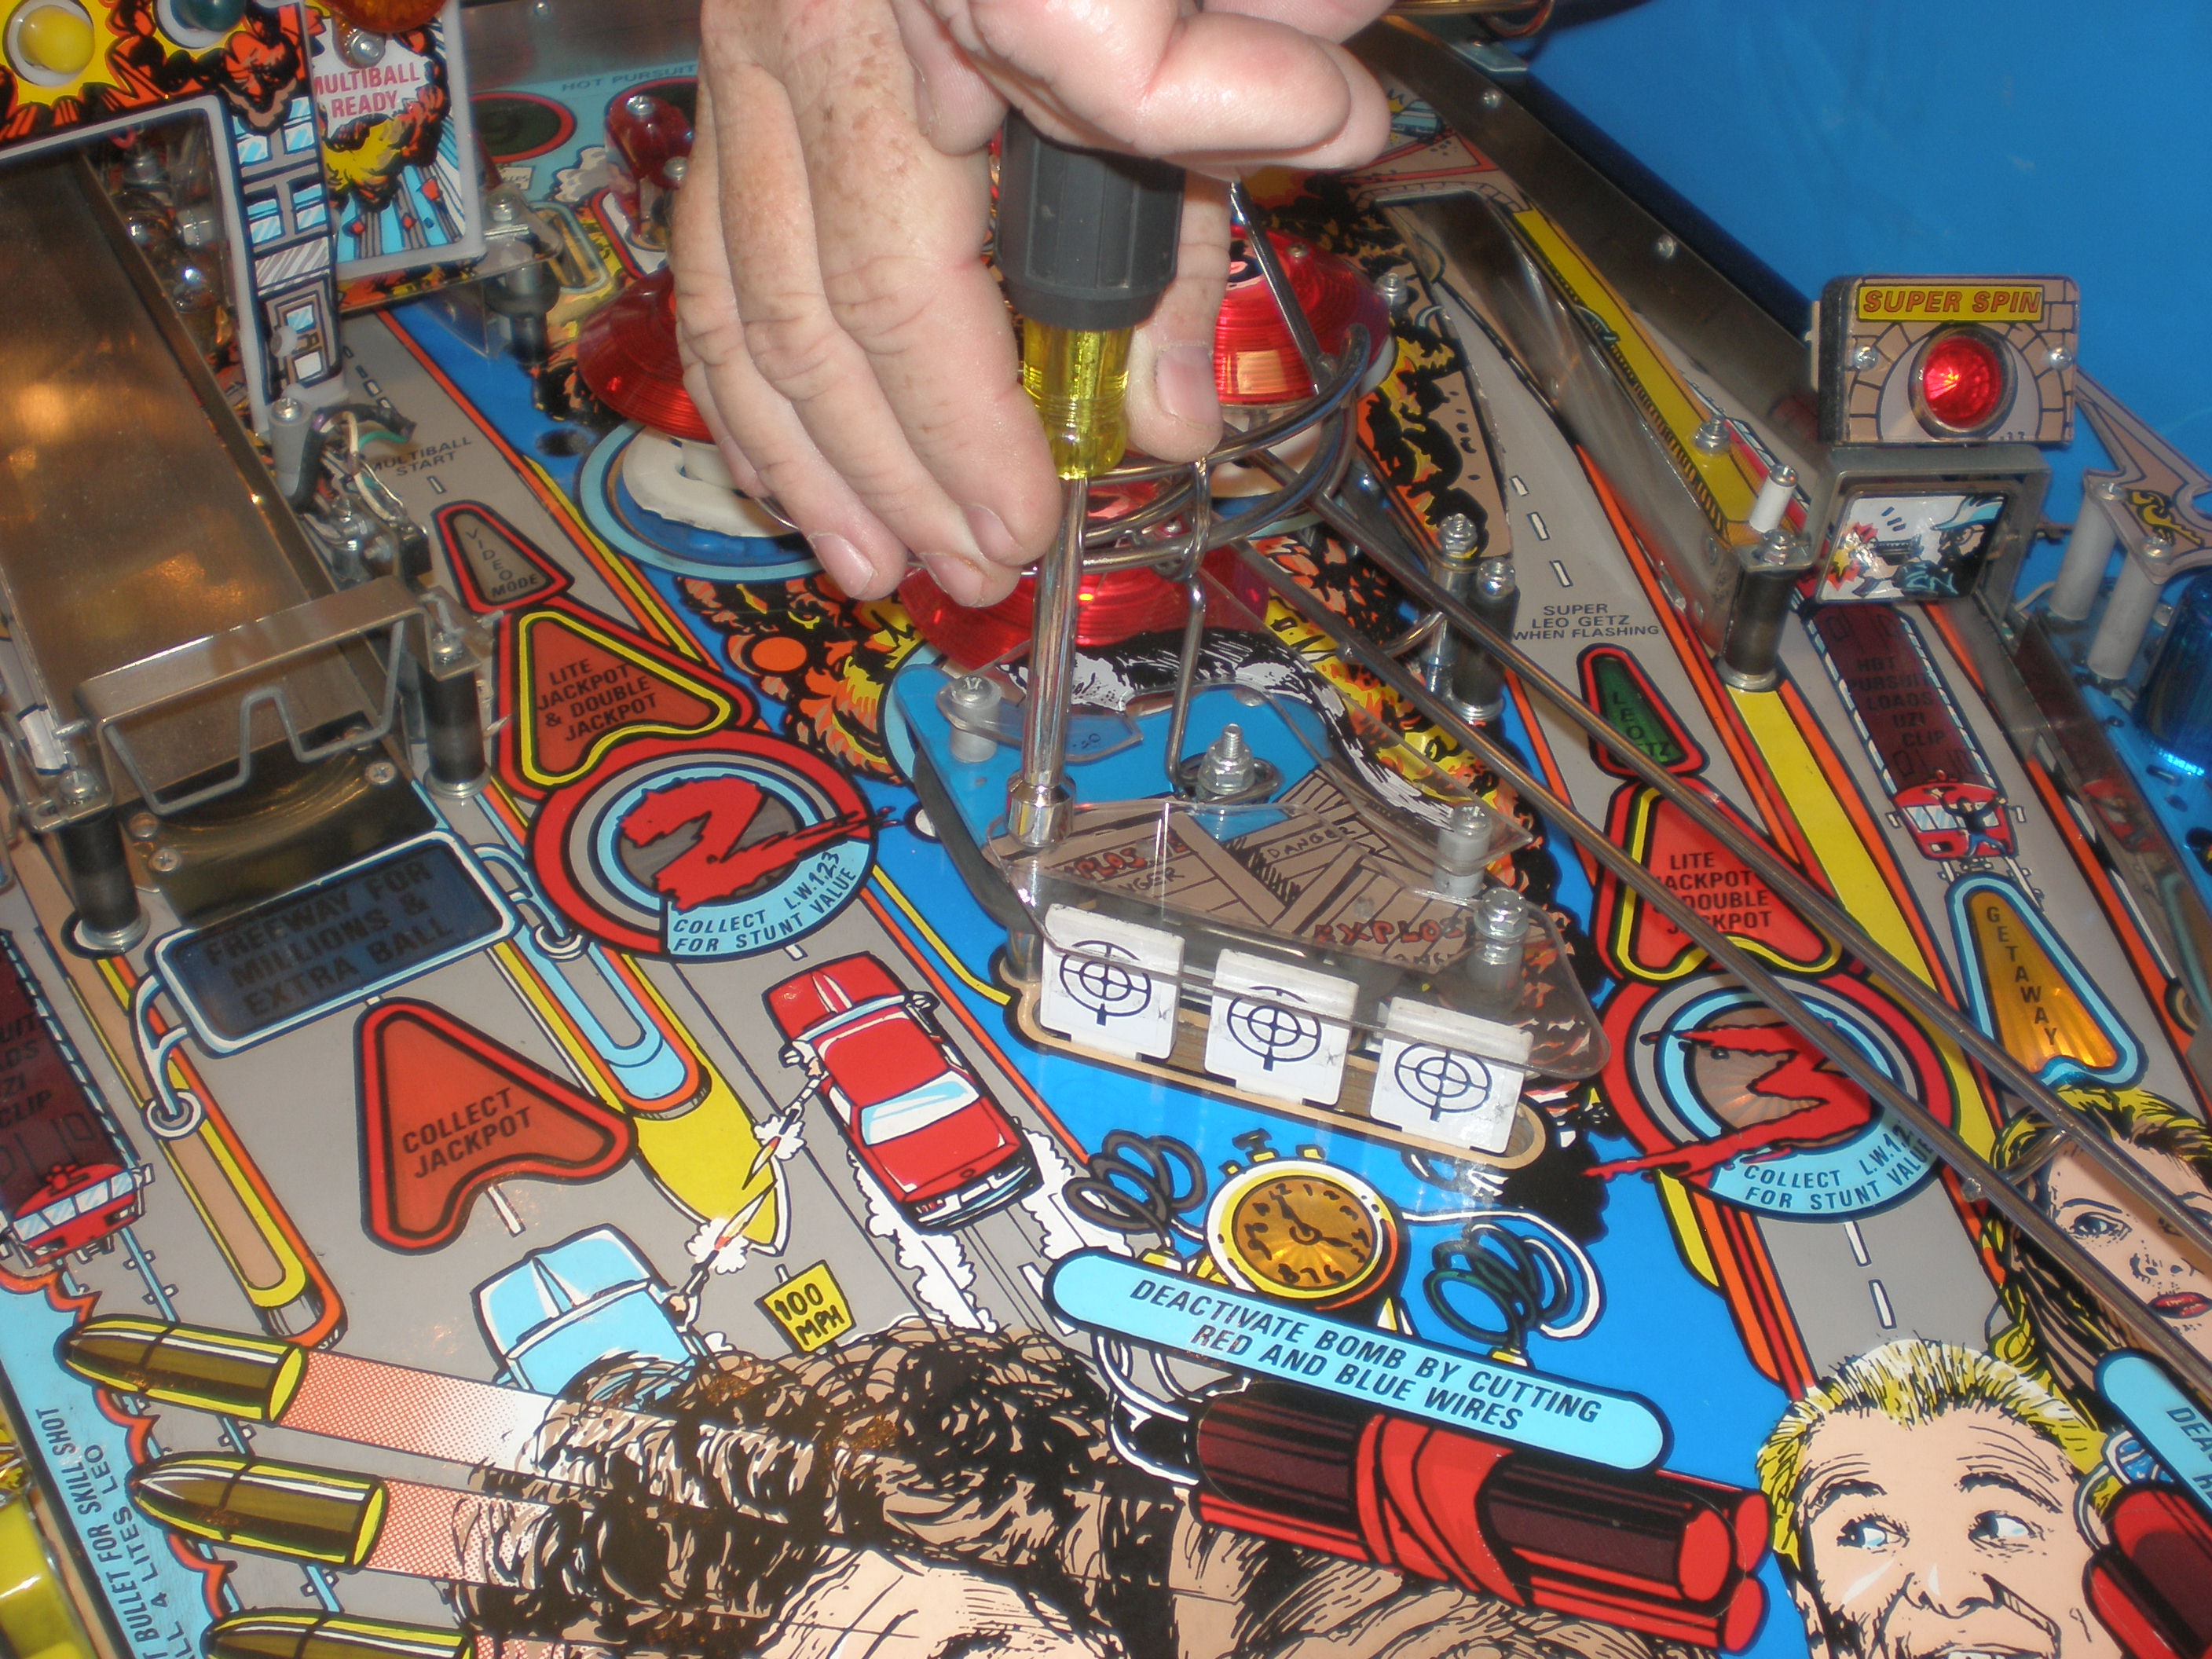
At this point the playfield can be easily examined for defects, such as missing paint, loose, sunken, or raised lamp inserts, metal posts broken flush with playfield surface, screw holes that should not exist. I classify missing paint, and raised lamp inserts to be Major repairs, and the others minor.
Now, if the playfield does not have, any major defects it can be de-waxed, cleaned, and re-polished, or prepared for clear coat. This is the best time to clean all the through holes. These are machined holes in the playfield that allow switches, drop targets, and the like to protrude to the upper playfield. Over the years they usually become an ugly black. This is due to cleaners and wax running over the edge and down the side, then it becomes coated with carbon dust, from the high voltage switches. A damp soapy rag pulled through the hole, will clean the bulk out. This is followed with a very light sand with a rotary tool attachment. Now if the playfield is being clear coated, the wood grain will be sealed looking fresh. If the playfield is just being power polished, I seal the fresh wood grain with old school hair spray.
The playfield ready for re-polish will have one of three finishes, screened ink on wood, ink on wood with a factory applied mylar overlay, or ink on wood with a protective clear coat finish. Regardless of the existing finish, the playfield is re-polished using a powered 3-step cut, polish, finish, process The only variation is different abrasives, &/or polishes used to match the existing finish. The following are some photos of playfields that have had existing finishes re-polished. Here are others that were clear coated
Each pinball playfield restoration is a unique process, as there are many variables that can determine the degree of restoration required. Ideally knowing what you want helps. Some people want a showpiece, like a show car, rarely driven, usually moved on a trailer. Others want a player, where small imperfections can be overlooked, providing it looks fresh, and plays properly.
I will not go into detailed techniques of lamp insert repair, or playfield paint matching and touchups, as who wants to read through 40 pages. Sometimes a playfield can have so many issues, that once a cost analysis is done, the least expensive avenue is to install a new aftermarket replacement.
Whatever degree of restoration / repair you are after, it can become a reality here.
Now on to explaining what happens to all the parts that were removed from the upper playfield. As the playfield is stripped, all the metal parts, such as lane guides, machine screws, gates, nuts, washers, are segregated . They are put into a tumbler /polisher unit with a special dry medium, and run continually for about 7 days. Usually after this term all the metal parts look new, any that don’t are then hand sanded, or replaced.
The plastic parts, such as support posts, lane guides are put into another tumbler. These run in a special wet medium for about 2 days, fluid changed, then another two days. They emerge sparkling clean. Any cracks are now visible, and bad pieces can be replaced.
All the larger metal & plastic parts have to be polished by hand. This can be quite a process. Machines from eastern Canada, or that have been in cold storage for many years, have just ugly metal surfaces. This can be corrected with sandpaper, and power tools. It’s very time consuming, and for that reason only topside playfield metal will be done, unless special requests are made.
Artwork plastics are polished on a buffing wheel, ramps by hand. Any paint touchup required to art plastics is done at this time.
Playfield edge rails. are often an overlooked item. Most are black in color. I will paint them, many times with a new color, using automotive paint with a clear coat finish; they can really make a playfield stand out.
That is about it for the reader’s digest version of upper playfield restoration, Oh! Yes, now it time to reassemble, but not until the underside is completely rebuilt.
The Playfield – Underside
The rebuilding of the underside of the playfield is just as vital as the topside, as located here are all the mechanical components that provide you the player with the interactive experience with the upper playfield. When I start on the underside the topside has already been stripped, and all components protruding up to the topside have been dropped. All major assemblies such as flippers, slingshots, vertical up kickers, drop targets, stand-up targets are hanging, or removed by this point It’s very important to clean the complete underside playfield, if not all the oils and carbon dust will quickly transfer to your just restored / cleaned topside through vibration, and ball travel. Most 12 year and older undersides will look like this when I receive them, and when done will look like this
As I start rebuilding the underside, I usually start replacing / cleaning all the smaller items first, such as lane rollover wire forms, lamp sockets, and lamps, switches, and standup targets. These are done first as the major assemblies are already removed. Once they are back in place, many smaller components cannot be accessed.
Rollover wire forms are one of the first components reinstalled. All receive a hand polish with a special metal polisher, to bring back their original look. All of these activate a blade switch. At this point each has the contacts cleaned, and solder connections checked.
Next all fixed mounted under playfield switches contacts are cleaned, & solder points checked.
Then, all switches that protrude through to the upper playfield are cleaned / fixed, or replaced, and reinstalled. This includes slingshot activation, standup targets, spinner arms and the like. It’s at this stage when you really see all the broken switch blades, solder lugs, and missing diodes. All switch blades are cleaned, but those that are highly visible to the player, such as slingshot are polished to look new, or replaced. Many of these switches over time start to look very unsightly. You don’t want them put back into a game that’s just been restored!
Now that the wire forms and switches are done, it’s onto the lamps, and lamp sockets. I always remove all old lamps, then bend back the lamp socket to reveal the lamp insert This lamp insert is what allows the lamp light to shine through to the playfield. Over the years this insert’s ability to allow light through degrades from a build up of kitchen grease, nicotine, and carbon dust clinging to the former At this point each individual lamp insert is thoroughly cleaned from the underside. Each lamp socket is checked for tightness, and solder lug connections. Over time the isolation material used on the lamp sockets shrink, or the load spring gives out. These lamp sockets have to be replaced. Some are so bad you can tell with a visual inspection, others that are borderline have to be diagnosed after the pin is booted back up. On a Sterns Stars pin I had to replace 28 lamp sockets. All new #47 lamps are installed.
As the underside inspection continues it is also cleaned. The wire harness is cleaned as well. The wire harness is also tidied up, as over the years it gets “opened up” as people trace wiring trying to sort issues. As a tech, it’s very annoying to work on a pin when the wiring is always in the way, so this is addressed.
Fuses located underside have their values checked for correctness. I always write the fuse value directly onto the wood with a sharpie, as over time the original value stickers fall off, due to the glue drying out.
Now that all the smaller parts have been addressed I move to the larger solenoid assemblies. One of the first tasks is making sure the solenoid rating in each assembly match what the original manual called for. I have found it’s very common to find incorrect solenoids installed. This goes back to operators using whatever was on hand to keep the pin earning quarters. I have seen my fair share of pinballs with totally smashed plastics, ramps, drop targets, and metal posts bent over because someone put the wrong solenoids in the flipper assemblies.
Each solenoid assembly is stripped apart one by one , rebuilt, and reinstalled.
Most pop bumper upper playfield parts are just replaced with new. This includes the main body, metal rod & ring, and skirt activator, as most of these parts are broken, and at the very least cracked
Slingshot armatures many time are broken and need replacing
All solenoid assemblies share most of these common parts, a coil, plunger with link, plunger sleeve, spring, and coil stop. Some of these parts at the very least require service, and a few just need to be replace.
The plunger link is either made of fiber or plastic and it’s a very important part. Over time slop will develop where it connects to the plunger with a roll pin. If you rebuild a solenoid assembly without changing this component, well it’s not rebuilt, as this is the weak “link”. If it shows any signs of slop, I change it.
Return spring should always be changed, just based on it’s current age.
The plunger link and coil stop smash into one another each time the solenoid is activated, this leads over time to a mushrooming effect on both If the damage is not too bad they can both be filed back to original shape, or changed.
The coil “sleeve” in all cases is changed, as the plunger and stop smash into each other inside this sleeve which scores the inner lining.
Examining all these parts indicates the solenoid assembly has been completely disassembled; during this time the main base frame is cleaned. Many times I will find stress and /or fatigue cracks on the assembly mount structure itself, at that time it’s replaced
The flipper assemblies are an extra special case, as they have some unique parts such as the flipper body, flipper bushing, the crank, and the switches More times than I can count I find large wood screws forced into the metal machine screw holes that hold the coil stop in place. Sometimes this hole can be tapped back to proper use, and other times the whole flipper body base needs to be replaced due to the damage done
The flipper bats, if original, are usually cracked at the cross bracing point. If they are cracked they will not absorb ball hits correctly, and feel weak. These cracks can only be seen if the flipper is removed and turned over
Many people ignore the first switch that starts the flipper process, and that’s the cabinet switch on the left and right inside of the main cabinet body. This switch has evolved over the years from a straight contact, to powered optic eye; either way it needs attention.
Well there are many other components on the underside of the playfield such as resister boards, diode boards, relays, motor starters, and much more.
I just provided you with a very condensed version of what must happen under there to provide you with years of trouble free pinball play.
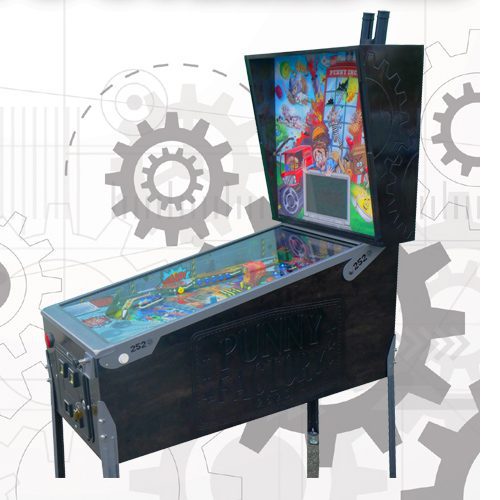
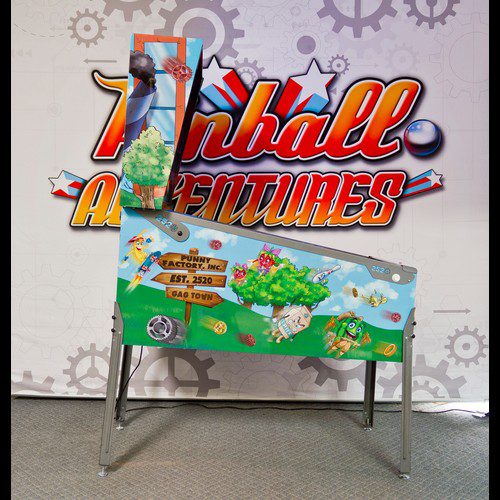
PINBALL ADVENTURES
Pinball Adventures is a North American manufacturing company producing fresh and unique Pinball machines. Our goal is to create to the highest standards, and spark the same joy we found as gamers when we rolled our first quarter into that coin slot so many years ago. Stemming from a lifelong passion, Pinball Adventures is created by gamers, for gamers. We strive to bring high quality, innovative, and captivating experiences for all to enjoy.
Visit our website at pinballadventures.com and also check out our new Instagram page for more updates https://www.instagram.com/pinballadventures/
Pinball, Pinball Adventures, Pinball Buzz, Pinball, Pinside, History of Pinball, Pinball News, Pinball Updates, Origin of Pinball, Pinball Skill Shots, Pinball Canada, Vancouver Pinball, pinball relates to real life, collect pinball, shooter rods, Parts of a pinball machine, Move a pinball machine, most expensive pinball machine, guide to playing pinball, Largest Pinball Collection, hardest pinball game, 5 Classic Pinball Machines, Owning a pinball machine, 5 Cool Pinball Art From The 80’s , New Led Zeppelin Pinball, Pinball Playfield Repair And Restoration